Robot Assembly
Assembly Video
Supplies Needed:
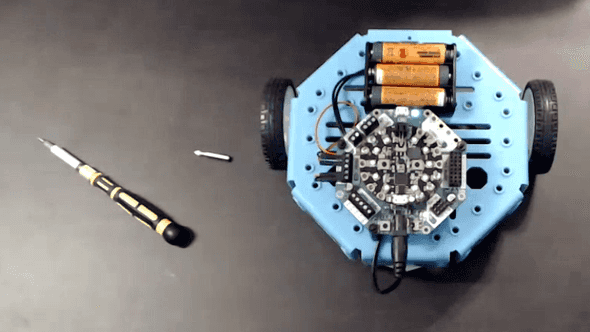
- Battery pack
- 3 AA batteries
- CPX microchip
- Crickit
- 2 Motors
- 2 Wheels
- Robot Chassis
- 4 Long M3 Bolts + Nuts
- 4 Short M3 Bolts + Nuts
- 3 Black Nylon Spacers, Screws, and Nuts
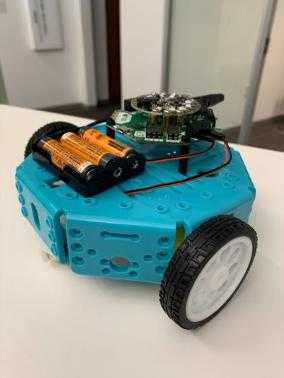
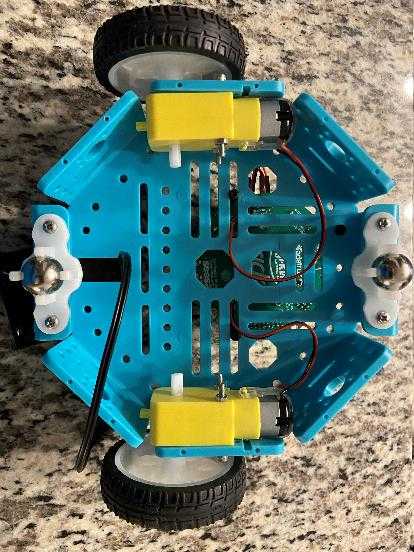
Attach Motors
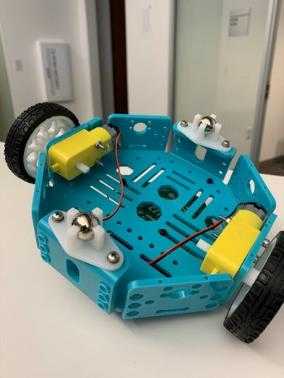
- Attach one motor to each side
- Use M3 X 30 MM screws and M3 nuts (Small box).
- Thread Motor Wires up through chassis
- Attach caster wheels
- Attach caster wheels to each side
- Use M3 X 16 MM screws and M3 nuts (Big box)
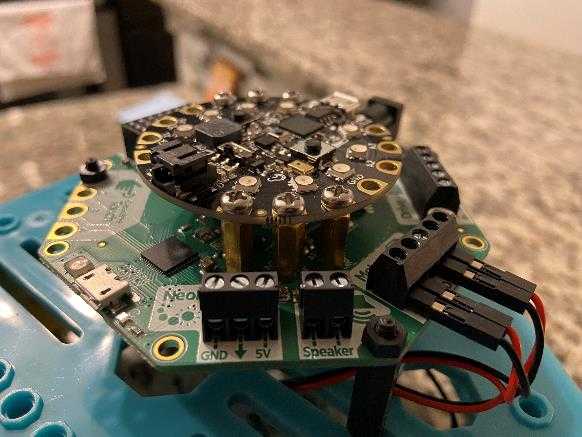
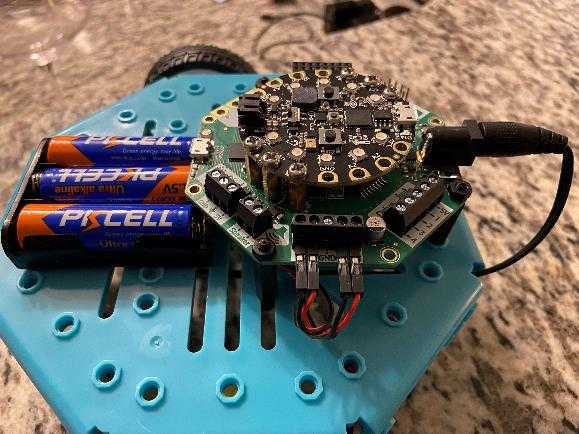
Robot Assembly – Attaching CPX to Crickit
- Attach CPX to Crickit
- Use the metal spacers and screws (inside of Crickit bag)
- The micro USB on the CPX should align with the power supply of the Crickit
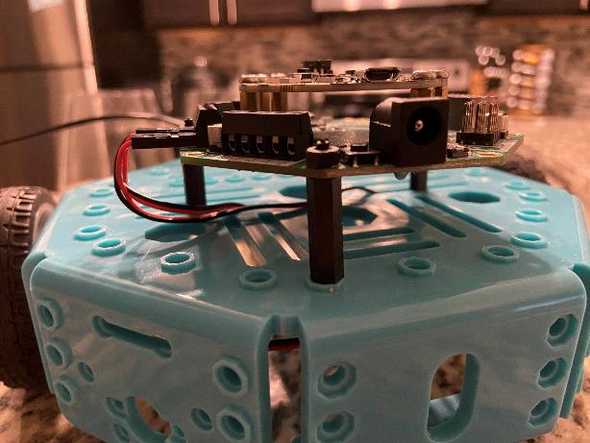
Robot Assembly – Attaching CPX / Crickit to Robot Body
- Attach CPX / Crickit to Robot Body
- Nylon spacers male to female (M3X20 mm)
- Nylon screws (M3 X 12 mm)
- Nylon nuts (M3)
Robot Assembly – Attaching motor wires and power supply
- Attach motor wires and power supply to crickit
- Screw the motor wire leads into the ports.
- Black, Red, Black, Red
- Run the power supply under the body and up to the power supply port
Infrared Remote Assembly
Supplies Needed:
- Battery pack
- AAA batteries
- CPX microchip
- Copper tape
- Pen
- Cardboard
Steps:
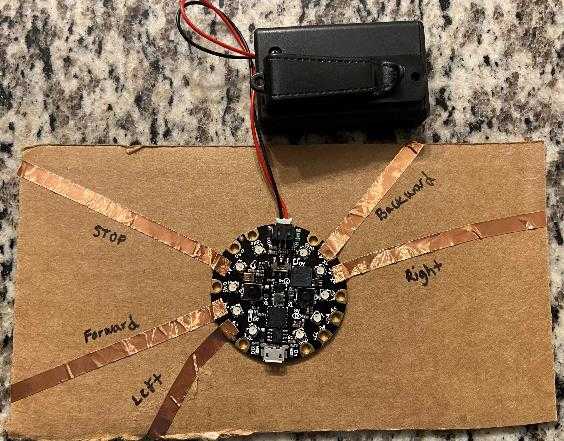
- Run copper tape from sensor A1 – STOP
- Run copper tape from sensor A2 – FORWARD
- Run copper tape from sensor A3 – LEFT
- Run copper tape from sensor A6 – RIGHT
- Run copper tape from sensor A7 - BACKWARD
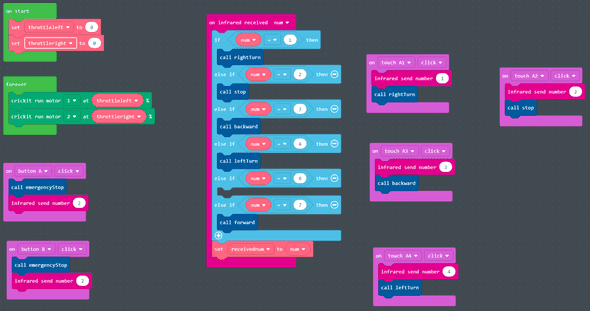
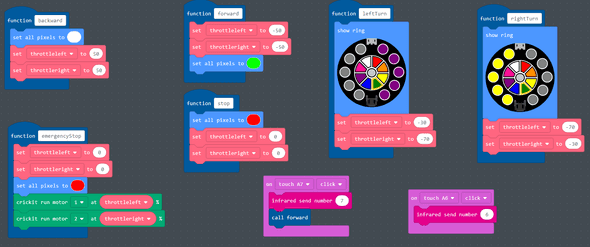
Final Code
