Introduction to MakeCode Raspberry Pi and CPX
MakeCode Robotics Overview
-
Students will Learn:
- MakeCode : Learn to program CPX microchip using a “drag and drop” MakeCode interface
- Robotics : Introduction to robotics using CPX and Crickit microchips.
- Raspberry Pi Computer : Using this world-famous Linux based Computer as your personal laptop
-
Tools we’ll use
- Adafruit CircuitPlaygroundExpress
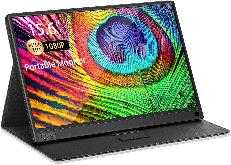
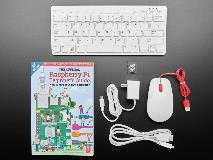
- External Display & Raspberry Pi 400 Desktop Computer Kit
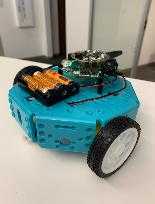
- Crickit Motors and robot body
Overview of CPX Features
- 10 Mini NeoPixel LEDs, each one can display any rainbow color
- Accelerometer with Tap and Free-Fall Detection
- Temperature Sensor
- Light Sensor
- Sound Sensor
- Infrared Transmitter and Receiver
- Mini speaker
- 2 push buttons, left and right
- Slide Switch
- 7 pads can act as Capacitive Touch input and more…

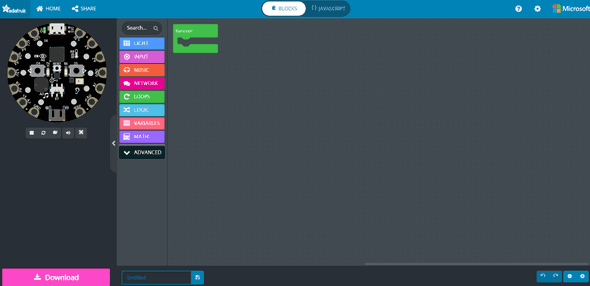
Overview of Adafruit Makecode Interface
https://makecode.adafruit.com/
Device Setup
Raspberry Pi Setup
- General Powerup.
- Connect Power cord, USB Mouse, Display with HDMI cable and additional micro-to-hdmi adapter.
- The Raspberry Pi will come on automatically upon power is connected.
- Please skip the operating system update. This typically takes at least 30 minutes.
- Refer to this YouTube Video on how to connect everything:
- Changing Wireless network and Verify Internet Connection
- Choose Wireless network by choosing WiFi icon on the top right-hand corner. Icon is next to Bluetooth icon.

- Choose your WiFi network and enter network password if one is assigned for the network.
- Verify that Raspberry Pi is connected to WiFi and able to access Internet.
- Start Chromium internet browser from top left-hand menu. Icon look like a Globe with Blue color

- Enter any URL
- Choose Wireless network by choosing WiFi icon on the top right-hand corner. Icon is next to Bluetooth icon.
CPX Microchip Setup
- Connect CPX
- Take the USB cable and connect it to the Raspberry Pi.
- Attach the CPX device to the other end of USB cable.
- Press the RESET button on the CPX device. Reset button is the center of the CPX device and is small button.
- The device will light up all GREEN.
- Click Files icon from top left hand menu bar.

- You should see CPLAYBOOT as one of the folders.
- Start Chromium internet browser from top left hand menu.
- Type https://makecode.adafruit.com in the browser.
- Start New Project By Clicking

- Check YouTube Video on creating sample Makecode program and download to CPX: Sample program on Adafruit CPX using Makecode
Quick Start Example - Red Light
CPX Device
MakeCode
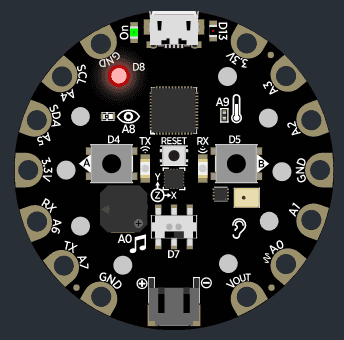
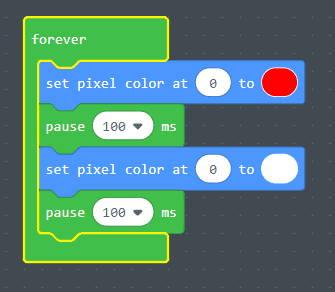
Setup Instructions - Download
Select Download (pink button)
Setup Instructions
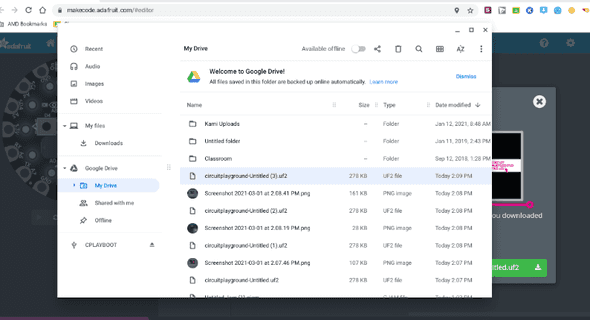
Click and drag the file to CPLAYBOOT